 Well, the time has come. My daughter has decided that her toys are way cooler than mom, and she would much rather hang out in her room and play with all of her cool stuff than hang out with boring ol mom. And while it’s a little insane seeing her grow up so fast, I’m relieved that she’s finally getting into all of her toys that take up every inch of space in that room, and I do have to admit that it is nice to get some things done around here. And I love hearing her in there, blabbing away and turning everything into a drum set.
This week, the Creative Collective started on The Nectar Collective, and our first prompt was to choose a word for 2014 and make something creative with it.


I chose simplify because I really want to work on simplifying my life and slowing down a little. I have a closet full of clothes I never wear and it stresses me out every time I look at it, I have a craft closet that has gone complete bonkers with projects that I barely touched. I need to simplify my closet, simplify my crafts and simplify my routine. I try to do too much of everything, and end up falling short. I am slowly learning to focus on one goal until it’s done and move on from there.
I’m choosing to let go of anything that causes unnecessary stress, and zoning in on what matters. I’m choosing to allow myself some creative time every day, because I need it. I tend to get so worked up about things, and when it comes down to it…my life is pretty simple.
And so far, it has worked! I finished more by doing that than by trying to do everything at once. I finished my cork/chalkboard that I have been putting off forever and I was actually able to make cookies AND coffee cake this week. What the what?!


The cake was so crumbly that I had to eat it with a spoon, which I was totally fine with.
I got to share Print Therapy‘s story this week, and I was so excited about how excited they were about it. When you write about someone else and their business, it can be a little nerve-wrecking. You are putting that person’s name out there, and it can be a truly amazing experience…or it can be horrible. Luckily, this was a particularly amazing experience. I also purchased this Valentines card from them, and I will continue supporting their business in the future. Because they’re awesome.
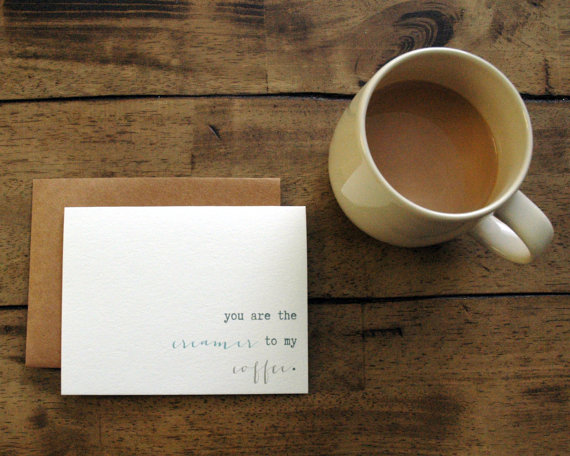
Photo from Print Therapy

And, finally. I got this package that I ordered from Wilderess, and I love everything about it. I got an apple scented 20 hr candle, two cinnamon chapsticks and they included a little tealight! It came with a cute little bag and was shipped with eco-friendly packaging.

A Burts Bees devotee, I was a little weary of trying another chapstick, but I love these! And they’re less waxy. I’m definitely sticking with them. Sorry, Burt.
So, what did you love about this week? What did you get accomplished? Share in the comments and post a link to your blog if you have one! Connect with me on Facebook, Twitter, Google+, Instagram and Pinterest!


